@TOC
face_recognition 是一个基于 Python 的人脸识别库,封装了 dlib 的深度学习模型。
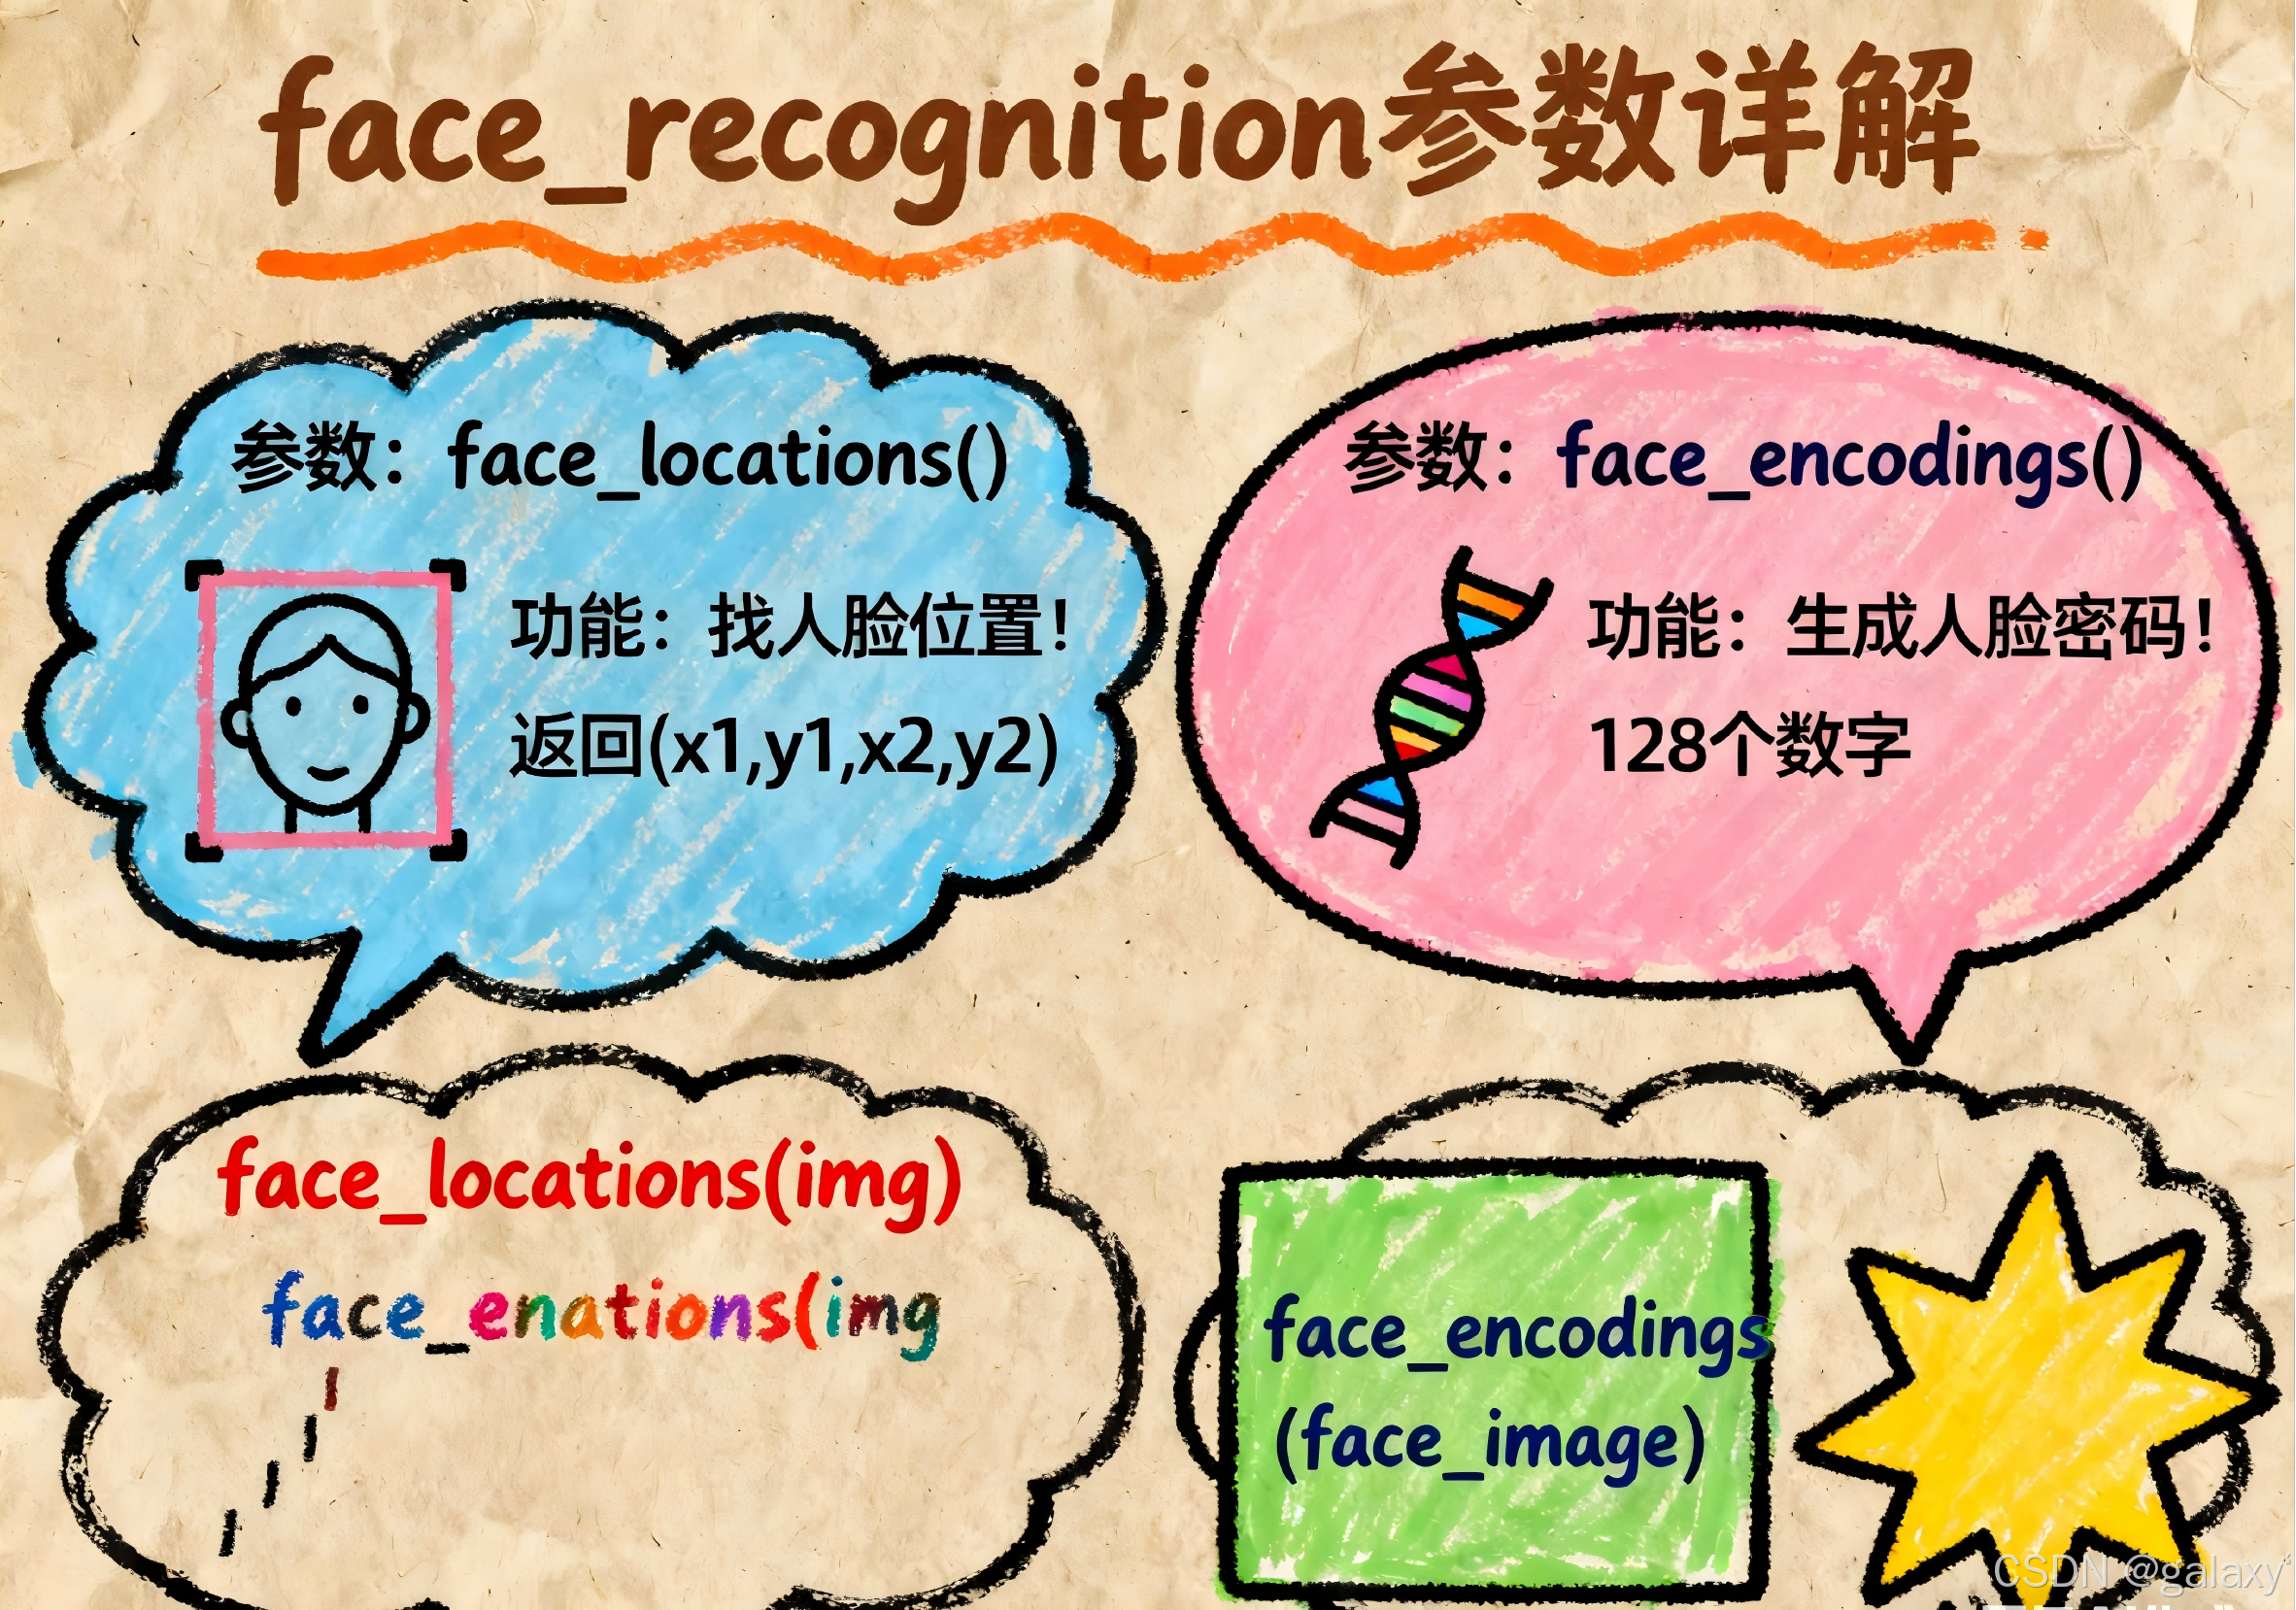
1. 人脸检测:face_locations() 在图像中定位人脸位置(边界框)。
1 face_locations(img, number_of_times_to_upsample=1 , model="hog" )
imgload_image_file() 加载。number_of_times_to_upsamplemodel
"hog":速度较快(CPU 友好),精度一般。"cnn":高精度(需 GPU 加速),速度慢。
2. 人脸编码:face_encodings() 获取人脸的 128 维特征向量(用于识别)。
1 face_encodings(face_image, known_face_locations=None , num_jitters=1 , model="small" )
face_imageknown_face_locationsface_locations() 检测到位置,直接传入边界框列表(避免重复检测)。num_jittersmodel
"small":速度快,精度略低(默认)。"large":精度更高(适合侧脸、遮挡),速度慢。
3. 人脸比对:compare_faces() 比较两个人脸编码是否匹配。
1 compare_faces(known_face_encodings, face_encoding_to_check, tolerance=0.6 )
known_face_encodingsface_encoding_to_checktolerance值越小越严格 (0.4-0.6 是常用范围)。
4. 加载图像:load_image_file() 加载图像文件为 numpy 数组。
1 load_image_file(file, mode="RGB" )
filemode"RGB"(三通道)或 "L"(灰度图)。
5. 人脸关键点:face_landmarks() 检测人脸 68 个关键点(眼、鼻、嘴等)。
1 face_landmarks(face_image, face_locations=None , model="large" )
face_imageface_locationsmodel
"large":检测 68 个点(默认)。"small":检测 5 个点(更快,但信息少)。
6. 批量处理(GPU 优化):batch_face_locations() 批量处理多张图像(仅支持 CNN 模型)。
1 batch_face_locations(images, number_of_times_to_upsample=1 , batch_size=128 )
imagesbatch_size
7. 计算人脸特征向量间欧氏距离:face_distance() face_distance 是 face_recognition 库中用于计算人脸特征向量间欧氏距离的关键函数,它提供了比 compare_faces() 更精细的相似度度量。
函数定义 1 face_recognition.face_distance(face_encodings, face_to_compare)
参数详解
face_encodings
类型:列表(List of 128D arrays)
说明:包含一个或多个已知人脸的特征向量(128维编码)。每个编码通过 face_encodings() 函数生成。
示例:[encoding1, encoding2, ...]
face_to_compare
类型:128D 数组
说明:待比较的目标人脸特征向量
示例:target_encoding
返回值
类型:NumPy 数组(float 类型)
说明:返回目标人脸与每个已知人脸的欧氏距离 (Euclidean distance)
距离值范围:[0, +∞)
值越小表示越相似 (0 = 完全相同)
与 compare_faces() 的关系 compare_faces() 实际上是在内部调用 face_distance() 并应用阈值判断:
1
2
def compare_faces (encodings, target, tolerance=0.6 ):return list (face_distance(encodings, target) <= tolerance
阈值参考
距离范围
相似程度
典型应用场景
0.0 - 0.4
极高相似度
严格身份验证
0.4 - 0.6
可能匹配(默认阈值)
常规人脸识别
0.6 - 0.8
低相似度
需二次确认
> 0.8
极可能不同人
排除匹配
安装 face_recognition 需要的基础组件
Python :3.6 或更高版本(推荐 3.8+)dlib :核心人脸识别库(C++编写)CMake :用于编译 dlibC++ 编译器 :
Linux: g++ 或 clang
Windows: Visual Studio 构建工具
macOS: Xcode 命令行工具
示例代码 训练 1 2 3 4 5 6 7 8 9 10 11 12 13 14 15 16 17 18 19 20 21 22 23 24 25 26 27 28 29 30 31 32 33 34 35 36 37 38 39 40 41 42 43 44 45 46 47 48 49 50 51 52 53 54 55 56 57 58 59 60 61 62 63 64 65 66 67 68 69 70 71 72 73 74 75 76 77 78 79 80 81 82 83 84 85 86 87 88 89 90 91 92 93 94 95 96 97 98 99 100 101 102 103 104 import face_recognitionimport osimport pickleimport numpy as npfrom sklearn.metrics import accuracy_score, classification_reportwith open ("face_recognition_model.pkl" , 'rb' ) as f:'encodings' ]'names' ]"val_data" for person_name in os.listdir(val_path):for image_name in os.listdir(person_dir):if os.path.islink(image_path):True else :False if len (face_locations) == 0 :print (f"警告: {image_path} 未检测到人脸" )continue if len (face_encodings) == 0 :continue 0 ]if is_single_sample:0.65 else :0.6 "Unknown" if matches[best_match_index]:print (f"整体准确率: {accuracy:.4 f} " )print ("\n分类报告:" )print (classification_report(true_labels, pred_labels))for i, path in enumerate (image_paths):if os.path.islink(path): "image_path" : path,"true_label" : true_labels[i],"pred_label" : pred_labels[i],"correct" : true_labels[i] == pred_labels[i]if single_sample_results:print ("\n单人照片识别结果:" )0 for result in single_sample_results:"✓" if result["correct" ] else "✗" print (f"{status} {result['true_label' ]} -> {result['pred_label' ]} ({os.path.basename(result['image_path' ])} )" )if result["correct" ]:1 len (single_sample_results)print (f"\n单人照片准确率: {single_accuracy:.4 f} ({correct_count} /{len (single_sample_results)} )" )else :print ("\n验证集中没有单人照片" )
预测 1 2 3 4 5 6 7 8 9 10 11 12 13 14 15 16 17 18 19 20 21 22 23 24 25 26 27 28 29 30 31 32 33 34 35 36 37 38 39 40 41 42 43 44 45 46 47 import face_recognitionimport osimport pickle"train_data" "face_recognition_model.pkl" for person_name in os.listdir(train_path):if len (person_images) == 1 :for image_name in person_images:if len (face_locations) == 0 :print (f"警告: {image_path} 未检测到人脸" )continue if len (face_encodings) > 0 :0 ])with open (model_save_path, 'wb' ) as f:'encodings' : known_face_encodings,'names' : known_face_namesprint (f"模型训练完成! 共学习 {len (known_face_names)} 张人脸" )print (f"其中 {len (single_sample_persons)} 人只有单个样本: {', ' .join(single_sample_persons)} " )
参考